Summary
Resolution
Change a Category
Change VAT rate
Add bank details, notes or terms and conditions
Each invoice you create has space for you to add terms and conditions and extra notes. Use these to add information such as terms of sales for your customers, and bank details for payment.
You can enter this information on each invoice as you create it. If you prefer, you can set up default terms and notes which will print on every invoice you create.
To set up default text, go to More, then Business Settings, Document Preferences, and scroll to the Terms & Conditions and Notes sections. The notes and terms you set up here will appear on every new invoice you create, but you can amend or add to these on individual invoices.
 TIP: If you enter your bank details in the invoice notes, your customer has them to hand when they come to pay their invoice.
View VAT breakdown
When you've finished adding items to your invoice, the total net, VAT and gross amounts appear at the bottom of the invoice. The VAT is broken down by VAT rate, so you can see a separate line for each rate used on the invoice.
If you would like to see a further breakdown of the VAT included on your invoice, select the View VAT Analysis link. This opens a table that displays a full breakdown of the VAT for the items you've put on the invoice, including the different VAT rates and a breakdown of values for goods and services:

Add attachments
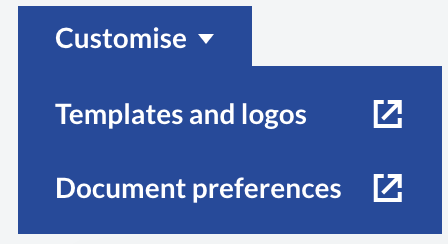
Customise your invoice
Use the Customise menu at the bottom of the New Sales Invoice page to jump to customisation settings. This saves you time when you want to customise invoices for your business.